
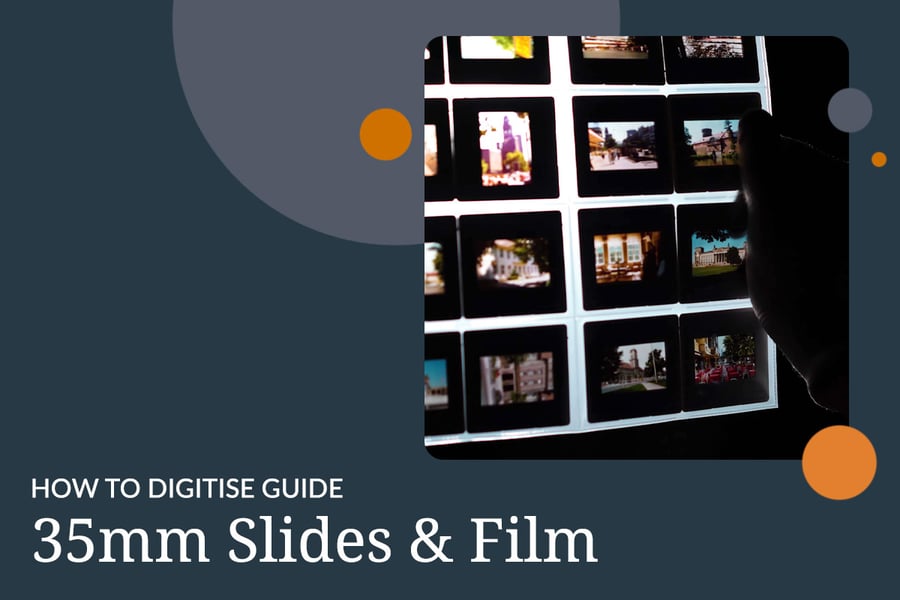
Digitising 35mm slides and film collections is becoming increasingly popular as many archival institutions look to make their collections more accessible.
In addition, some manufacturers are ceasing production of hardware that enables the viewing of analogue 35mm slides, and this is likely to be a growing issue, making it necessary to convert slide and film archives to digital formats in order to preserve them.
To help you better understand what’s involved when it comes to digitising your 35mm film collections, we’ve combined our in house expertise, and years of industry experience, to create 7 Top Tips. These should help to explain the specific practices we follow to ensure top quality digitisation results, every time.
Digitising 35mm Slides & Film – 7 Best Practice Tips
1. Remove surface dust and wear gloves
Due to the high capture resolution even the smallest particle of dust on the slide/film can show up very large on the final scanned image. Consequently, it is vital to clean the slide with a bulb blower (or compressed air blower) before beginning any digitisation. This will remove all loose surface dust. The bulb blower is ideal for light dust, but sometimes it is necessary to use a micro fibre cloth where the dust or dirt is thicker.
It is also important to clean the scanner bed (if using a flatbed scanner) or camera lens (if using a DSLR) between digitising batches, to mitigate the risk of surface dirt. The bulb blower can be used for this purpose too, but we would suggest avoiding the use of microfiber cloths because the glass on the scanner and lens can be easily scratched.
When handling material during the digitisation process (as well as in general), operators should always wear nitrile gloves. This is in line with National Archives Guidance and helps to prevent contaminants (such as oils and acids from skin) being transferred to the slides and film.
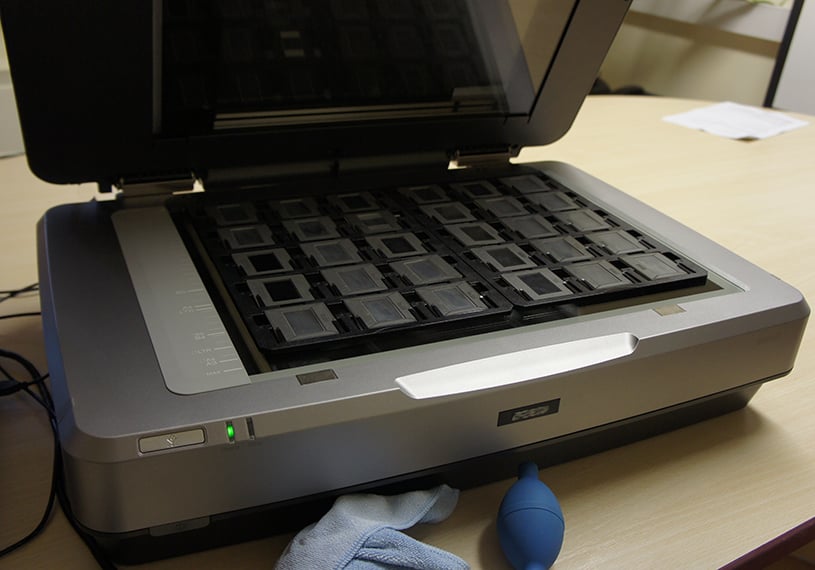
2. Use flatbed digitisation equipment
Having digitised many 35mm slide and film collections over the years, we have found that using a flatbed scanner (such as the one pictured above) delivers the best balance of high resolution and consistent high quality images. This is also an easier option for anyone who hasn’t digitised before. Using a professional digital SLR camera fitted with macro lens, which is attached to either a planetary scanning rig and light box or to a dedicated slide conversion adapter (such as a Kaiser stand) is an alternative method for digitising slides. Both methods have their merits but we find that flatbed scanning still produces the best overall image results.
It's worth noting that you may have to remove a white document mat that is usually used for prints, photos or documents, but isn’t necessary for slides and film, or add a transparency adapter to the hood (upper section) of your flatbed scanner, depending on the model of scanner you are using. This information can usually be found within the scanner’s user manual, or on the manufacturer’s website.
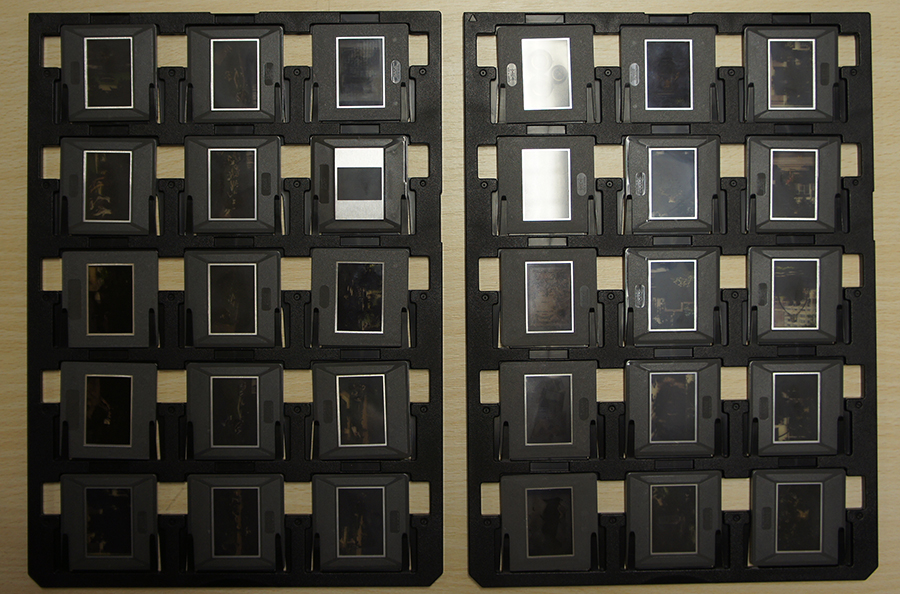
3. Ensure slides are straight in mounts
Whether using a DSLR or Flatbed Scanner to digitise, making sure each 35mm slide or film strip is straight in its mount or slide holder prior to scanning will save a lot of time deskewing during the post-processing stage. Using a mount or slide holder also enables you to put the slides or strips in order.
4. Scan at a minimum 4000ppi resolution
As we’ve noted in previous How to Digitise guides, it’s important to capture at a resolution appropriate to the goals of the digitisation project. As standard, for 35mm slides and slide snap, we recommend scanning to a minimum resolution of 4000ppi (pixels per inch), capturing 24-bit colour for colour images and 8-bit grayscale for black and white images. For large format film this is not an ideal resolution as it takes much longer. Typically, we would digitise large format film at a maximum of 1200ppi.
Digitising at the correct resolution provides an optimum balance of capturing enough pixel information for detailed display on monitors, whilst keeping scanning times and costs reasonable. This resolution also allows the images to be blown up to larger sizes (i.e. for reproduction of photographic prints) with little or no interpolation, minimising the likelihood of any distortion appearing in the image.
National Archives Digitisation guidance recommend that, for long-term archival preservation purposes, a resolution of 4000ppi or above. However, practicalities, such as available time, budget, and resources, must be weighed against specific project goals and short-term outputs. These are key considerations that will influence your choice of resolution.
Whilst scanning at 4000ppi resolution does produce relatively large files, which can be cumbersome to work with, lower resolution surrogates can be derived from the master images for display on the web or to transmit via email.

5. Perform colour calibration
Alternative models of scanner can interpret colour values differently, which can lead to inconsistencies between the apparent colour profile of the physical slides/film to the human eye and that of the digital images they produce. For this reason, colour calibration must be performed before scanning to achieve the truest representation of the original materials.
Assuming monitors have been calibrated beforehand, a basic level of calibration can be performed by scanning a colour target (like the one pictured above) and adjusting the colour profile of the scanned image to match the physical chart. This profile can then be applied across all of the 35mm slides/film strips.
Another way to perform accurate colour calibration is to use professional scanning software, such as that offered by Epsom. This is what we use, benefiting from automatic calibration; a process that is much quicker, easier, and more accurate (not merely relying on the less reliable human eye).
For a full in-depth guide on colour management for digitisation projects you can refer to JISC.
6. Choose suitable file formats
We recommend digitising slides and film to uncompressed RGB TIFF format as master images. Smaller surrogate JPEG files at 80% quality can then be produced for a number of uses, such as image manipulation and display online.
7. Beware auto-crop
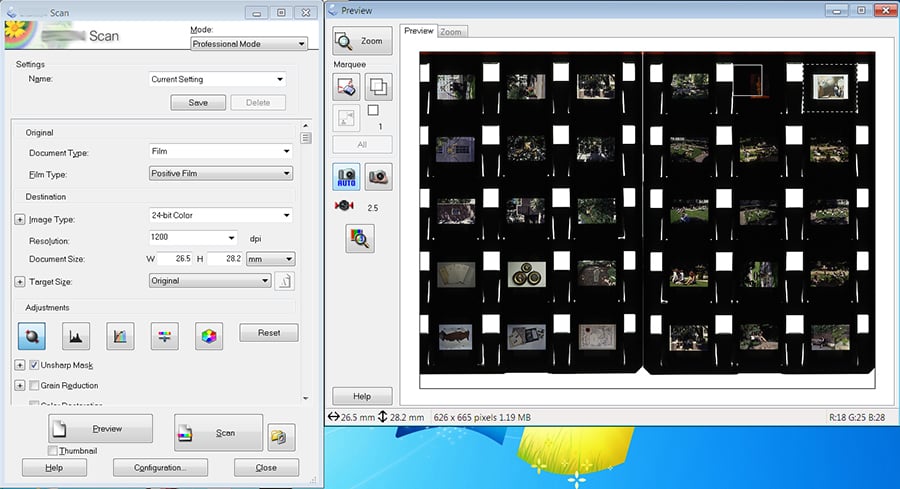
Most professional flatbed scanners will include their own proprietary software to control the scanner hardware, process, and settings. When digitising slides, these programs often have an option to detect and auto-crop individual slides from the scanned image and separate them out into individual image files.
Whilst this is a very useful tool in principle, our Imaging technicians have found that this can be unreliable and inconsistent, in some cases even cropping parts of individual slide images. For this reason, we recommend performing an initial preview scan of your slides/film before setting the crop areas manually (as in the image below). Though this may sound time consuming, we believe it is the best way to ensure perfectly cropped scans.
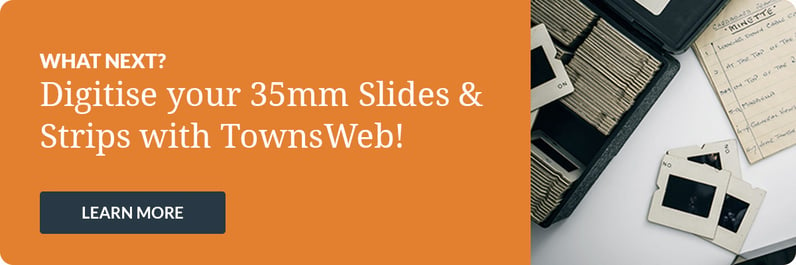
What Next?
We hope this blog proves helpful in understanding how to best digitise your 35mm slides and film, and we wish you the best of luck with your project. However, should you prefer to outsource your digitisation project then take a look at the specialist services we offer below:
Digitisation
Our specialist digitisation equipment and scanning service is able to scan all of your 35mm slides and film, and we have extensive experience in handling even the most delicate and fragile of items. We can scan your 35mm slides and film negatives at high resolution and convert them into digital formats, including TIFF and JPEG files. We can also eliminate scratches and specks (colour film only), restoring colour to faded images. Our consultants are always happy to discuss your requirements. Find out more about our digitisation services or contact us to discuss your individual requirements.
Data Capture
Digitisation provides the perfect opportunity to capture the valuable data contained within your 35mm slides and film collections and readies it for system integration and online access and discovery. Our handwritten transcription service, for example, can identify any handwritten or cursive script that might appear within your collection, converting this to searchable and machine readable textual metadata, outputting to any format.
PastView
Digitisation and Data Capture prime your 35mm slide and film archive for fluid integration into our PastView platform, enabling you to take advantage of a full range of features for enhanced online access and discovery, such as advanced search, featured collections, print facilities, and watermarking.
 USE OUR ONLINE