
When digitising oversized archival items - such as maps, architectural plans, posters, registers and artworks - the challenges can be as unique as the items themselves.
The sheer size of large format items can make them prone to damage, if not handled and supported correctly, and can make capturing high quality images tricky, especially for those that haven’t digitised these types of materials before.
By ‘oversize’ or ‘large format’ we generally mean items that are sized greater than A2 or 420x594 mm when fully opened. This can include documents sized up to A0+.
To help you better understand what’s involved when it comes to digitising an oversize collection, we’ve combined our in house expertise, and years of industry experience, to create 8 Top Tips. These should help to explain the specific practices we follow to ensure top quality digitisation results, every time.
Digitising Maps, Plans & More – 8 Best Practice Tips
1. Relax the items prior to digitising
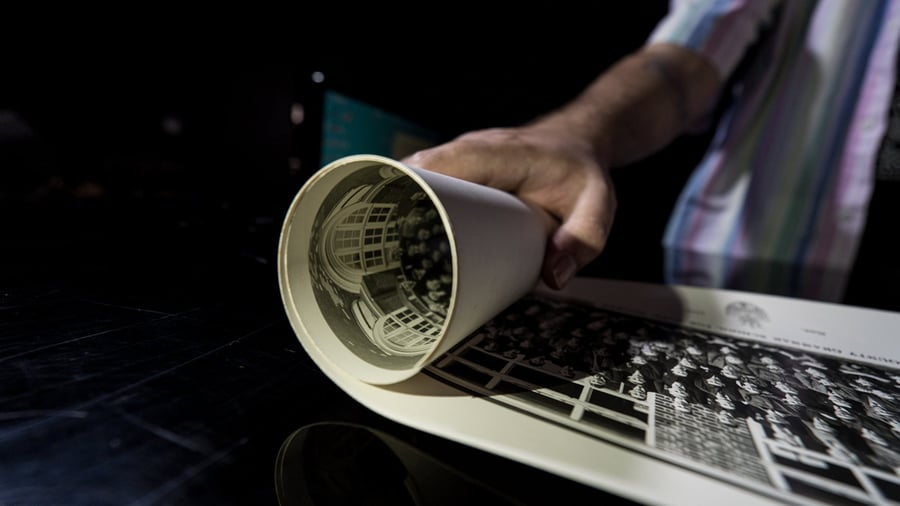
In an ideal world, large items like maps, artworks and posters would be stored open and flat. However, limited archive space and storage often means they are stored rolled, folded or bundled. Whilst in itself this isn’t necessarily harmful, sometimes (depending on the age and condition) unrolling or unfolding items, and immediately trying to spread them flat in order to digitise them, can put them at risk of damage.
To mitigate this risk, we recommend ‘relaxing’ the items first. This means allowing rolled items to be unfurled, or unfolded, gradually and then left to rest naturally for 6-12 hours in advance of being digitised. This places less stress on the material and reduces the risk of any damage being caused during the scanning process.
Archival standard weights can be used once the item has been relaxed and unfurled to hold it flat for scanning.
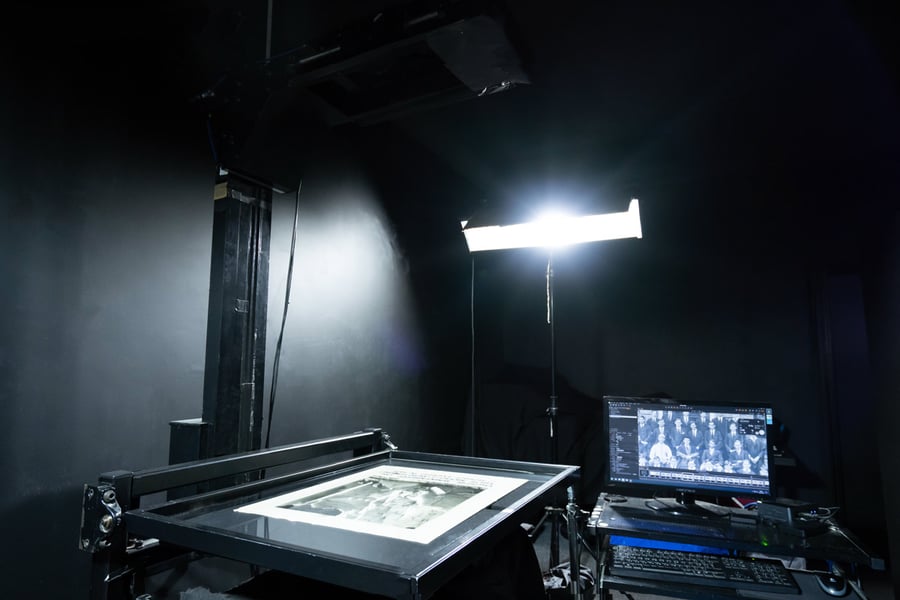
2. Use supportive, planetary digitisation equipment
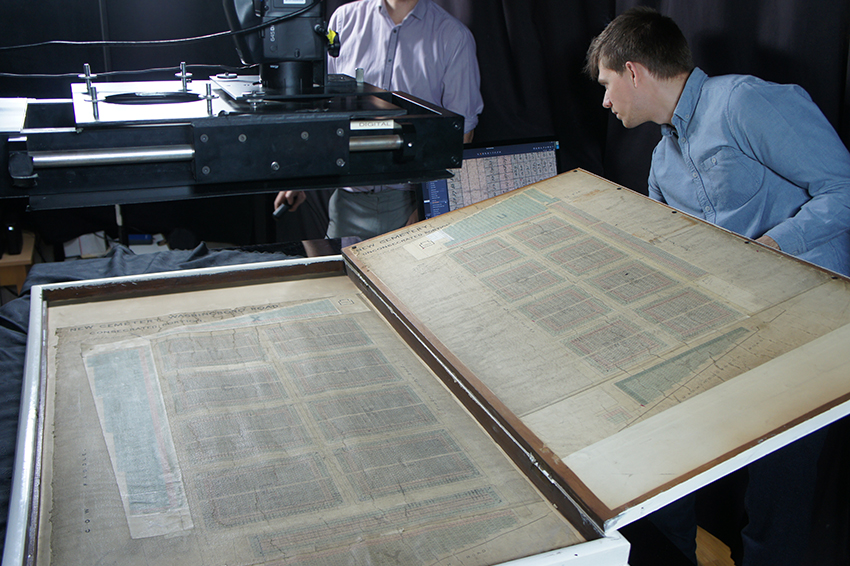
Owing to the scale of large format items, and given they are often composed of fragile materials, such as paper, vellum or parchment, specialist scanning equipment is essential to digitise them safely. It is vital that the scanner includes a flat, large format scanning bed that completely supports the item being digitised, to mitigate the risk of any tears or other minor damage. A large format book rest may also be necessary for oversize registers that are too fragile to open fully. An overhead camera and lighting set up is also essential. This allows the camera lens to be positioned a suitable distance from the object in order to capture it fully and at an appropriate resolution.
A professional standard rig setup, complete with the correct support, non-heat producing lighting, and DSLR camera can cost up to £30,000. Consequently, it may not be financially feasible to purchase this equipment. In these circumstances, outsourcing scanning to a third party digitisation provider is often a more realistic option.
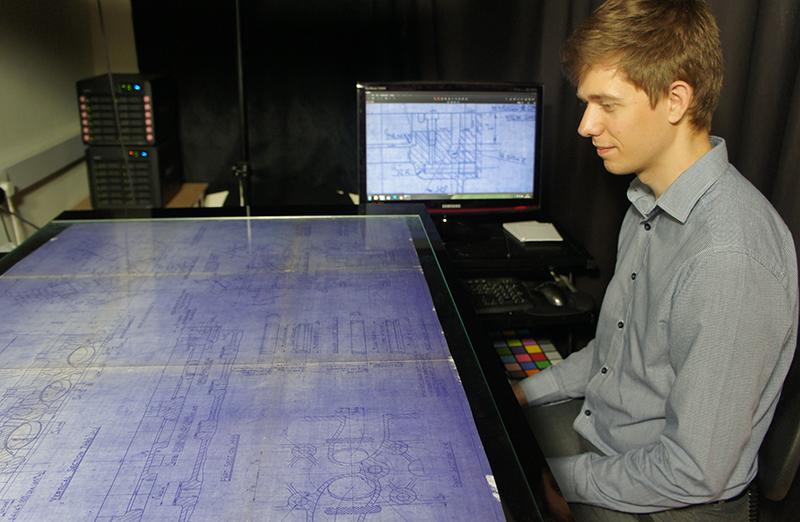
3. Digitise in size batches
If you organise your collection by size before you begin digitisation, your workflow will be far more efficient. This is because adjusting the camera setup, for instance the height of the camera from the item and the calibration of colour capture, takes time. You can minimise readjustments by organising your collection in advance, saving yourself precious time.
4. Correct handling is vital
The sheer size of large items makes them difficult to handle individually. Trying to handle a large map or poster alone can put stress on the item and potentially cause damage. Framed artworks pose a unique risk and these should always be held at the strongest part of the frame. There is also risk of damage to the individual too, as framed artworks and burial registers can be heavy and often dangerous to move alone. For this reason, we would always recommend working in pairs.
Ideally, if possible, oversize items should be stored flat, not overhanging shelves or protruding into areas where they may be knocked. If not supported correctly, large items can easily be damaged so they should always be placed on surfaces as large, or larger, than themselves.
The material itself may differ also, from paper to canvas, so always make sure to follow the correct handling procedure. If in doubt, consult the National Archives handling guidelines and always comply with professional equipment standards. The National Archives Guidelines also recommend checking any item for mould or uncleanliness before embarking on the digitisation process. For example, when handling paper maps and plans, make sure your hands are clean and dry. While cotton or nitrile gloves are suitable for single sheets, latex gloves risk causing tears to items. We generally advise handling without gloves to preserve dexterity and minimise risk of damage.
Another common large item material, especially when it comes to artworks, is canvas. When handling canvas, white cotton gloves are essential because oils on the skin can cause damage to the material. Efforts should be taken, regardless, to avoid direct contact with any painted surface wherever possible.
5. Remove glass when digitising framed items
It isn’t uncommon for large items to be framed beneath glass. Ideally, this should be removed prior to digitisation as the glass can result in glare and poor image quality. However, depending on the fragility and size of the item, this is not always possible – in these cases, adjusting your lighting setup correctly can reduce glare to a more acceptable level.
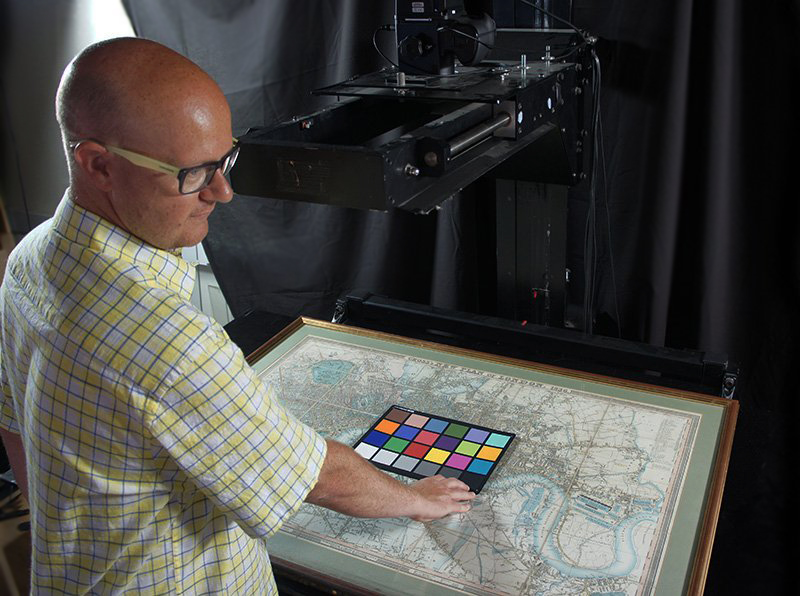
6. Manage colour capture
Accurate colour capture is a must when producing digital copies of archival items. The aim is always to finish with a product as close to the physical original as possible. Since large format items often consist of colour keyed maps and artworks, ensuring correct colour becomes of even greater importance.
Use a colour key (pictured) at the beginning of each batch to manage colour capture using software, such as Capture 1, to help make any manual adjustments, outputting the file as a test check before continuing with the scan.

Pictured: Large Format Map courtesy of Luton Culture.
7. Best practice image formats and resolutions
In our experience, capturing images at 200ppi (pixels per inch) resolution at actual size is suitable for most oversize items. However, if you require deep-zooming ability and a very high level of detail, then 300ppi is recommended. It is worth noting that (depending on item size) this may require imaging the item in sections and digitally stitching them together, post-production.
With regards to image formats, we recommend capturing to uncompressed RGB TIFF images for master copies and preservation. Surrogate images in different formats can then be produced from this, as required. For instance, you can create smaller JPEG images if you plan on publishing the collection, making it available to be browsed online through a publishing and management platform such as PastView.
8. Capture the right metadata for your project
One of the advantages of digitising large format items is the increased accessibility and discoverability this affords. But comprehensive metadata is vital to easy searching and accessibility, allowing staff and researchers to find the digital records they are looking for.
Consequently, the metadata collected must be appropriately tailored to the goals of your digitisation project and the context of the collection. For example, if you are digitising a collection of artwork, the most useful metadata fields may be the artist’s name, the date the piece was created, the title of the piece, and the medium. Whereas, for a large burial register, names of the interred, plot location, date of interment, and cemetery might be the most appropriate metadata to collect.
Planning which metadata to capture prior to digitisation will save time and make your workflow more productive. A handy guide to metadata planning and quality control from Digital Repositories Ireland can be found here.
What Next?
We hope this blog proves helpful in understanding how to best digitise large format maps, plans and other oversized material, and we wish you the best of luck. However, should you prefer to outsource your digitisation project then take a look at the specialist services we offer below:
Digitisation
Our specialist large format digitisation equipment is able to scan all manner of oversize archive material, ranging in size from A1 (594mm x 841mm) up to approximately 1.5 x A0 (1800mm+), and we have extensive experience in handling even the most delicate and fragile of items. Find out more about our digitisation services or contact us to discuss your individual requirements.
Data Capture
Digitisation provides the perfect opportunity to capture the valuable data contained within your oversize archive material and readies it for system integration and online access and discovery. Our handwritten transcription service, for example, can identify any handwritten or cursive script within your oversize collection, converting this to searchable and machine readable textual metadata, outputting to any format.
PastView
Digitisation and Data Capture prime your oversize archive for fluid integration into our PastView platform, enabling you to take advantage of a full range of features for enhanced online access and discovery, such as advanced search, high res zoom, print facilities, and watermarking.
 USE OUR ONLINE